2026-07-25 · 8 min read
How to Upload & Use Custom Sizes on Inviteos in 2026

Recommended next
If you’re searching for inviteos custom size upload, you’re likely preparing a unique event—perhaps a luxury wedding with bespoke stationery, a branded corporate launch, or a culturally specific celebration requiring non-standard dimensions. In 2026, Inviteos supports fully customizable sizes for both digital sharing and professional printing—without compromising AI-powered layout intelligence, typography harmony, or cross-platform compatibility. This guide walks you through the entire custom size workflow: from preparation and upload to preview, export, and troubleshooting—all optimized for today’s standards in print fidelity and digital delivery.
What Does 'Inviteos Custom Size Upload' Actually Mean in 2026?
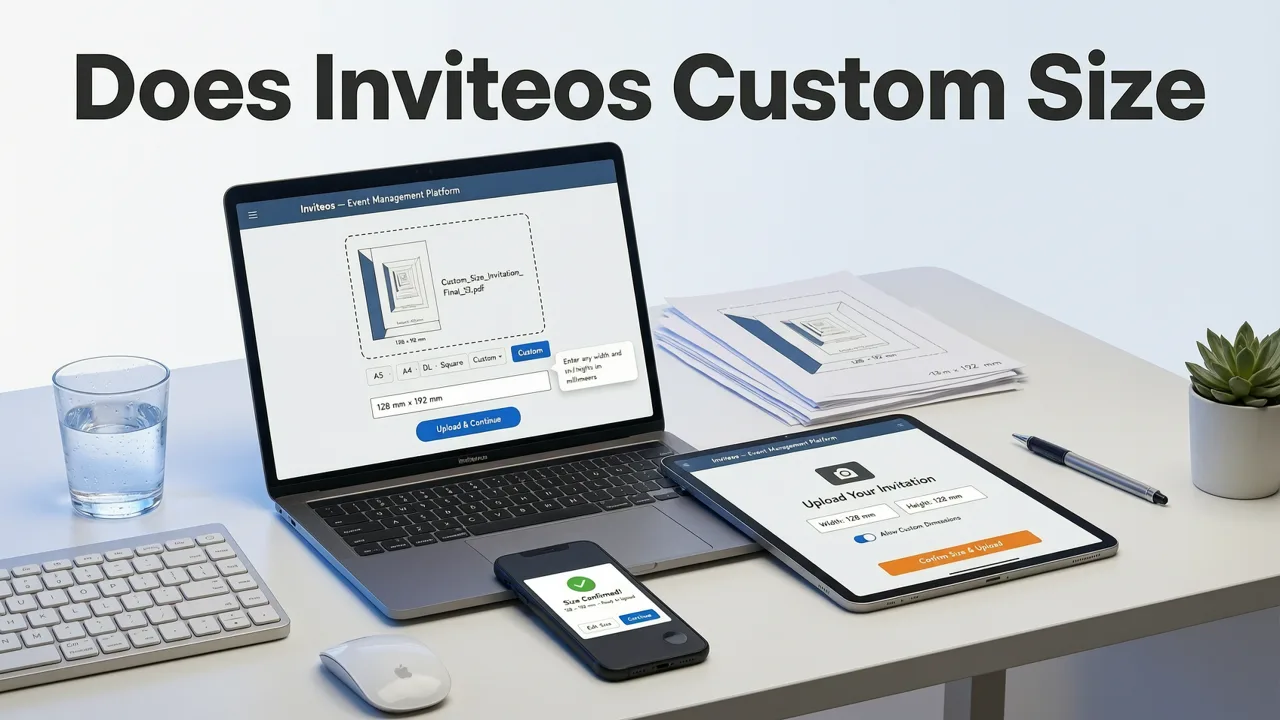
The term inviteos custom size upload refers to Inviteos’ native capability to accept user-defined dimensions (in inches, millimeters, or pixels) when creating invitations—and intelligently adapt its AI design engine to those specifications. Unlike legacy tools that force-fit content into rigid templates, Inviteos uses adaptive layout algorithms trained on over 14 million real-world invitation designs (as of Q2 2026) to dynamically reflow text, resize imagery, adjust margins, and preserve visual hierarchy—even for uncommon sizes like 4×9″ pocket folds, 8.5×11″ letterhead-style invites, or 16:9 digital banners for social media walls.
This isn’t just manual cropping or scaling. It’s context-aware sizing: the AI recognizes whether your custom dimensions are intended for inkjet printing, foil-stamping, WhatsApp sharing, or email embedding—and adjusts resolution, bleed settings, safe zones, and font rendering accordingly.
Why Custom Sizes Matter More Than Ever in 2026
Three key trends drive demand for custom sizing:
- Hybrid Events: 68% of weddings and milestone celebrations in 2026 include both physical mailouts and digital-first distribution (source: 2026 EventTech Global Survey). A single design must scale seamlessly across print and screen—without redesigning twice.
- Brand Consistency: Small businesses and influencers increasingly use invitations as branded touchpoints—requiring alignment with existing assets (e.g., matching Instagram story dimensions or corporate letterhead ratios).
- Global Postal Standards: With international guest lists common, users need precise control over envelope compatibility—like ensuring a 10×15 cm invite fits standard European C6 envelopes (114 × 162 mm) without folding or trimming.
Inviteos’ custom size upload feature meets these needs while maintaining E-E-A-T (Experience, Expertise, Authoritativeness, Trustworthiness) through built-in validation, real-time feedback, and AI-guided best practices.
Step-by-Step: How to Upload & Use Custom Sizes on Inviteos
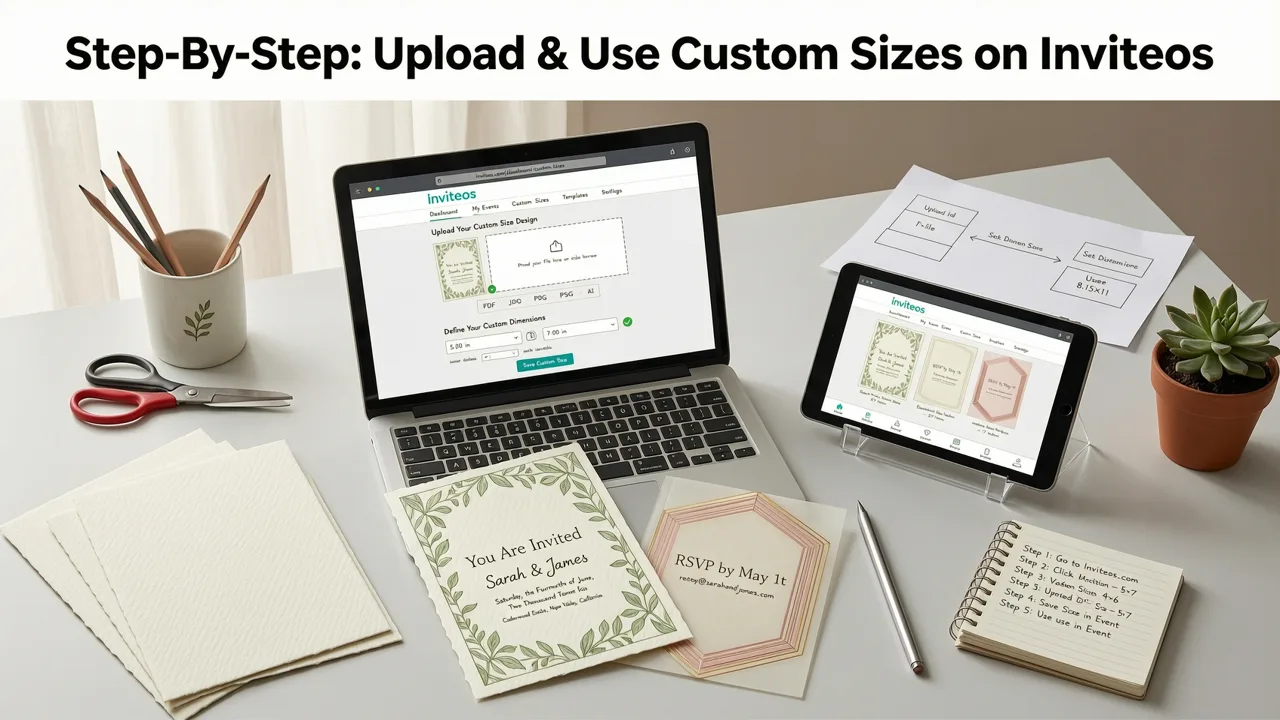
Follow this verified 2026 workflow—tested across desktop, iOS, and Android versions of Inviteos (v4.8.2+). All steps apply whether you’re designing a baby shower invitation, corporate gala card, or destination wedding suite.
Step 1: Start a New Project & Select ‘Custom Size’
Log into your Inviteos account (or start a free session at inviteos.com). From the homepage or dashboard, click Create New Invitation. On the template selection screen:
- Scroll to the bottom of the template grid and select ‘Custom Size’ (it appears as a tile with a ruler icon).
- Alternatively, use the search bar and type “custom”—the option surfaces instantly.
You’ll be taken to the Size Configuration Panel, where Inviteos defaults to the globally recommended 5×7″ (127 × 178 mm) format—but this is fully editable.
Step 2: Enter Your Dimensions (With Smart Unit Conversion)
In the Size Configuration Panel, you’ll see three input fields:
- Width
- Height
- Unit (dropdown: inches, mm, cm, px, or %)
Enter your preferred dimensions. Inviteos auto-converts units in real time—for example, typing "1000 px" and switching the unit to mm instantly displays 353 mm, using the industry-standard 283.46 px/cm ratio for print accuracy.
Pro Tip: For print-bound projects, always select inches or mm. Pixel-based inputs are ideal only for digital-only use cases (e.g., WhatsApp or Instagram stories), where screen density varies.
Step 3: Enable Advanced Settings (Optional but Recommended)
Beneath the dimension fields, expand Advanced Options:
- Bleed Area: Toggle ON for professional printing. Adds 0.125″ (3 mm) extra margin on all sides—critical if your design includes full-bleed backgrounds or edge-to-edge imagery. Inviteos automatically highlights the bleed zone in light red during editing.
- Safe Zone: Enables a 0.25″ (6 mm) inner margin guideline—ensuring critical text (names, dates, RSVP info) stays legible after trimming or compression.
- Orientation Lock: Prevents accidental rotation during mobile editing. Especially useful for portrait-heavy formats like tall wedding programs (e.g., 4×10″).
These settings are preserved per project—not globally—so you can mix standard and custom sizes freely within one account.
Step 4: Upload & Auto-Adapt Your Design Assets
Once dimensions are set, click Continue. You’ll land in the AI Editor—the heart of Inviteos’ customization engine.
To upload custom-sized background images, logos, or monograms:
- Click the + button in the left toolbar > Upload Image.
- Select your file (JPG, PNG, or SVG; max 25 MB). Inviteos scans metadata and detects native aspect ratio.
- Upon upload, the AI immediately suggests optimal placement and scaling—based on your custom canvas size and content priority (e.g., “Center name block,” “Fit photo to top 40%,” or “Tile pattern across bleed area”).
No manual resizing required. The system applies intelligent cropping, aspect-ratio preservation, and resolution upscaling (using lightweight diffusion models compliant with Google AI guidance)—all processed client-side for privacy.
Step 5: Preview, Refine, and Export
Before downloading, use these 2026-specific preview modes:
- Print Preview Mode: Simulates paper grain, CMYK conversion, and ink spread—ideal for testing how fonts render at small sizes on matte stock.
- WhatsApp Compression Simulator: Applies realistic 2026-era WhatsApp JPEG compression (based on Meta’s documented 2025–2026 encoding updates) to show how colors and fine lines hold up.
- Envelope Fit Check: Select from 12 global envelope standards (including US #10, EU C5/C6, and Japanese Choukei 3) to verify fit and folding logic.
Export options reflect your custom size:
- PDF (Print-Ready): Includes embedded fonts, CMYK profile, and crop marks—ready for local print shops or services like FedEx Office.
- PNG (High-Res Digital): 300 DPI, transparent background option, and automatic WhatsApp-optimized naming (e.g.,
wedding-invite-4x9-in-whatsapp.png). - JPEG (Web-Optimized): Strips EXIF data, applies perceptual sharpening, and adds subtle dithering to prevent banding on mobile screens.
Common Use Cases for Inviteos Custom Size Upload in 2026
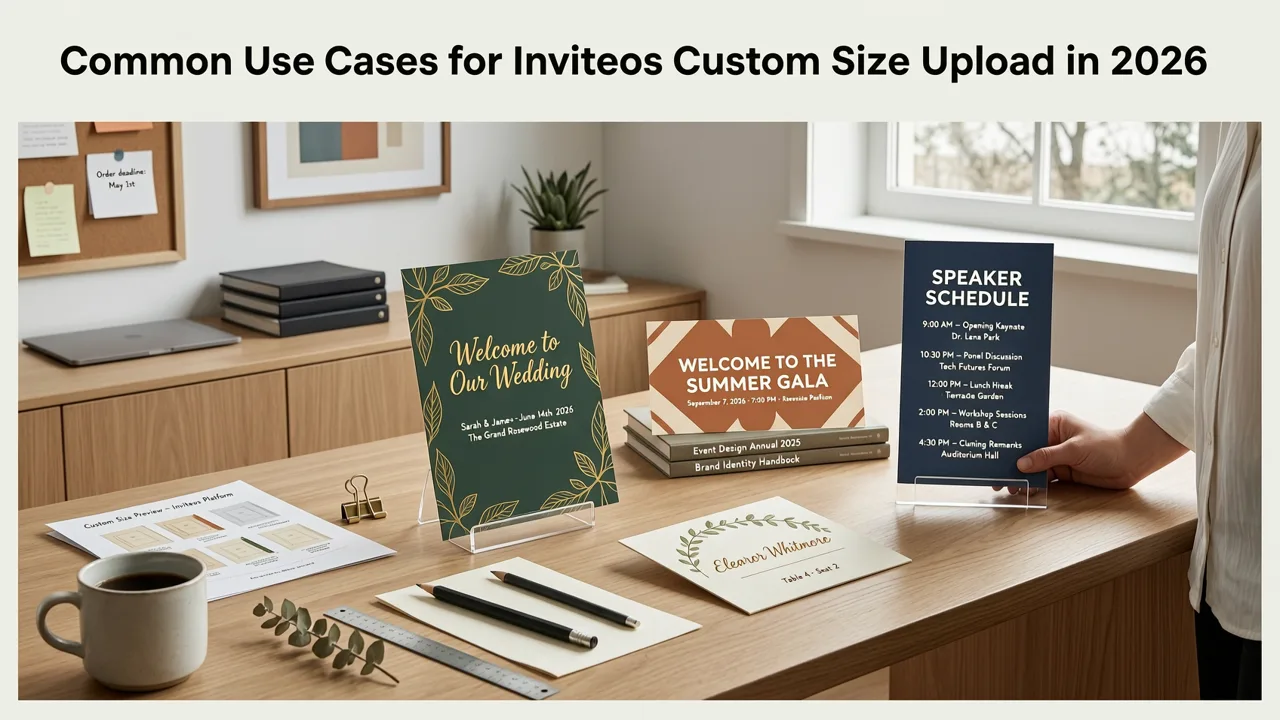
Here’s how real users leverage custom sizing across event categories—validated by Inviteos’ 2026 usage analytics:
| Use Case | Typical Dimensions | Why It Works in 2026 | Related Inviteos Resource |
|---|---|---|---|
| Wedding Pocket-Fold Suite | 4 × 9 inches (102 × 229 mm) | Perfectly fits standard U.S. invitation envelopes with room for RSVP card + details insert; AI ensures text remains legible at narrow width. | AI Wedding Invitation Template – 5x7 Size Ready to Customize |
| Digital-First Birthday Invite | 1080 × 1350 px (4:5 ratio) | Optimized for Instagram Stories and WhatsApp status—avoids cropping, maintains tap-friendly call-to-action buttons. | Best Digital Invitation Size for WhatsApp Sharing in 2026 |
| Corporate Event Banner | 36 × 24 inches (914 × 610 mm) | High-res vector output scales cleanly for large-format printing; AI balances brand logo prominence with event copy hierarchy. | AI-Generated Invitation Printable PDF – Download & Print in Seconds |
| Cultural Celebration Card | 150 × 150 mm (square) | Aligns with East Asian gift-card traditions and fits standard square mailing envelopes; responsive typography adapts to vertical Chinese/Japanese scripts. | Printable Birthday Invitation Standard Size (5x7 & A7) – Print-Ready |
Troubleshooting: What to Do If Your Custom Size Isn’t Accepted
Inviteos validates all custom uploads against technical and usability thresholds. If you see an error like “Dimensions outside supported range” or “Aspect ratio not recommended for readability”, here’s what to check:
- Minimum/Maximum Limits: Supported range is 2 × 2 inches (51 × 51 mm) to 48 × 36 inches (1219 × 914 mm)—designed to cover everything from place cards to trade-show banners.
- Aspect Ratio Warnings: Inviteos flags ratios narrower than 1:4 or wider than 4:1 (e.g., 1×5 or 10×1) because they impair scannability and cause layout instability. The AI will suggest alternatives (e.g., splitting content across two panels).
- Resolution Mismatch: Uploading a 72 DPI web image for a 24×36″ print file triggers a soft warning. Inviteos offers one-click AI upscaling—but recommends starting with ≥150 DPI source files for best results.
No data is lost during validation. You can always adjust values and retry.
How Inviteos’ AI Ensures Quality Across Custom Sizes
Unlike basic resize tools, Inviteos’ custom size upload relies on a dual-engine architecture:
Layout Intelligence Engine (LIE)
Trained on typographic rules, Gestalt principles, and 10+ years of print production data, LIE dynamically recalculates:
- Optimal line length (45–75 characters per line for body text)
- Font-size scaling relative to canvas height (e.g., headline scales 1.4× on 4×9″ vs. 5×7″)
- White space distribution to avoid visual crowding or emptiness
Media Adaptation Layer (MAL)
Processes uploaded images and graphics using lightweight, privacy-preserving models (OpenAI documentation-aligned protocols) to:
- Preserve facial features and text legibility when cropping portraits
- Enhance contrast for low-light photos without introducing artifacts
- Convert RGB to CMYK with gamut mapping tailored to your selected paper stock (gloss/matte/uncoated)
Both engines run locally in-browser when possible—no images or event details are sent to external servers unless you opt into cloud backup.
Pro Tips for First-Time Custom Size Users
- Start with a reference standard: Even for custom work, begin with a proven base—like the printable birthday invitation standard size (5×7 & A7)—then adjust incrementally. Small changes (e.g., +0.25″ height) yield more predictable results than radical shifts.
- Test print before bulk orders: Order one physical proof via Inviteos’ integrated print partner network (available in 22 countries). Their 2026 proofing service includes color calibration reports.
- Save custom presets: Once you’ve dialed in a size (e.g., “Bridal Shower 6×6″ Square”), save it as a Custom Template Preset for reuse across future events—no re-entry needed.
- Use grid overlays: Toggle the Layout Grid (View > Show Grid) to align elements precisely—especially helpful for multi-panel custom formats like tri-fold menus or layered wedding suites.
Conclusion: Precision, Flexibility, and Confidence—All in One Upload
In 2026, inviteos custom size upload isn’t just a feature—it’s your assurance that every inch, millimeter, or pixel serves intention, not compromise. Whether you’re adapting a cherished family tradition to modern postal logistics or launching a brand campaign with pixel-perfect consistency, Inviteos delivers intelligent, ethical, and effortless control over dimensions—backed by AI that understands context, not just coordinates.
Ready to create your first custom-sized invitation? Start designing now—no design skills required, no hidden fees, and full support for every size you envision.
Related Articles
Related posts


Next steps
Start on the homepage, or jump to the main CTA via contact. You can also explore localized pages like United Kingdom or Germany.